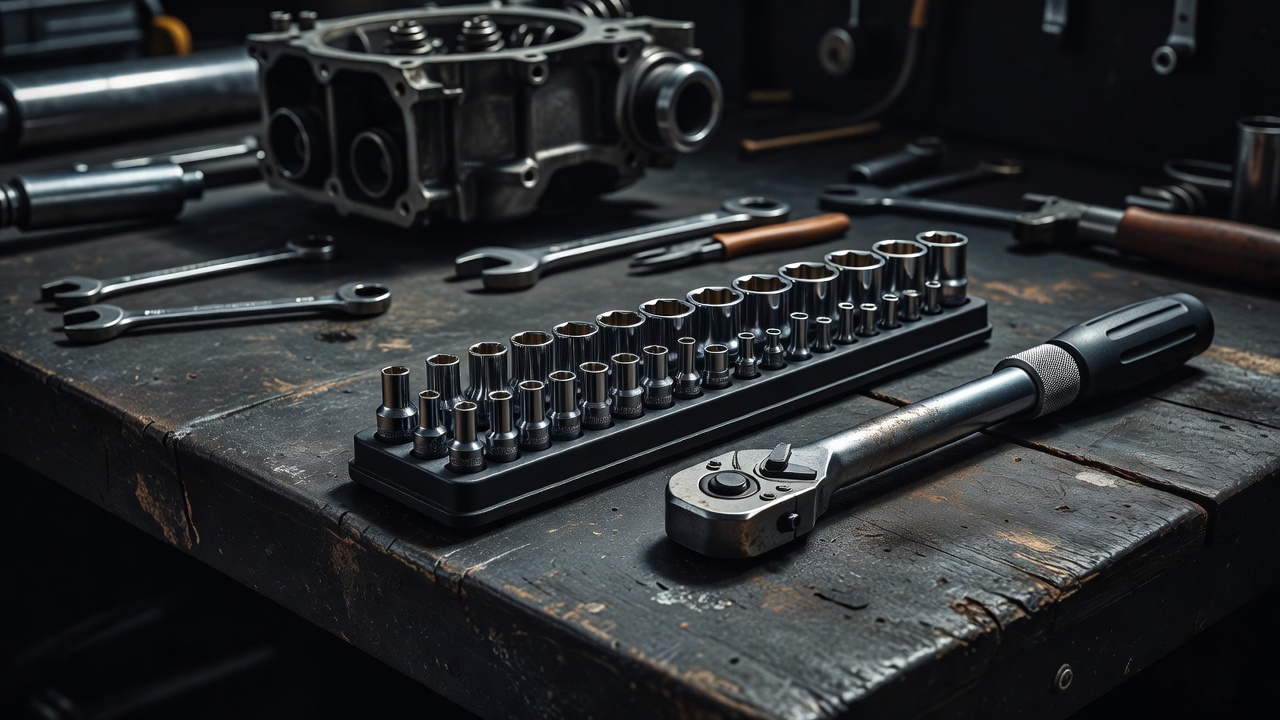
Start with a task inventory
List the routine tasks allowed by your owner’s manual, then identify the required tools. Tire-pressure checks need a dependable gauge. Bodywork removal may require specific hex or Torx bits. An axle may need a large socket that is absent from an otherwise extensive kit. Confirm the exact model and year before ordering specialist tools.
Metric fasteners are common on motorcycles, but never infer the required size from the manufacturer’s country or a similar-looking machine. Test fit with the tool fully seated. A rounded fastener, damaged recess or unusually tight component is a reason to stop and assess the problem, not to add leverage blindly.
Compare kits by useful coverage
The following categories describe roles, not quality rankings. A compact set can be excellent for inspection and poor for wheel removal. A professional-looking cabinet can still lack the one bit your motorcycle requires. Check individual contents and replacement availability rather than assuming a matching case guarantees a complete workshop.
| Kit type | Useful for | Check before buying |
|---|---|---|
| Compact hand-tool set | Accessible fasteners, covers and light adjustments | Correct socket sizes, bit profiles and usable access |
| Task-specific service kit | A defined procedure such as approved wheel removal | Model fit, service instructions and required torque equipment |
| Roadside roll | Minor fixes that are safe away from the workshop | Real fit on the bike, secure storage and manageable weight |
Choose control before power
A small ratchet helps with access and reduces the temptation to apply excessive force. A larger drive can be appropriate for higher-load fasteners, but drive size is not a torque setting. Use extensions only when needed, keep the socket square and avoid using adjustable tools where a correctly fitting fixed-size tool is available.
Impact tools can remove fasteners quickly, but they can also damage threads, disguise binding and over-tighten assemblies. They are not a substitute for a controlled final tightening procedure. If the service information specifies a sequence, angle stage, new fastener or locking compound, that instruction is part of the job rather than an optional finishing detail.
Use torque tools within their limits
Choose a torque wrench whose specified working range covers the actual values you need. One wrench may not suit both small engine-cover bolts and a large axle nut. Follow its calibration, storage and operating instructions. Do not use it as a breaker bar unless the manufacturer explicitly permits that use.
Torque figures depend on the prescribed thread condition. Adding oil, anti-seize or threadlocker when not specified can change the clamping result. Adapters that alter effective wrench length may require a calculation. If the setup differs from the service procedure and you cannot confidently resolve the difference, seek qualified help.
Support the bike correctly
First decide what must remain supported during the work. A rear paddock stand may allow rear-wheel rotation while still depending on an intact swingarm assembly. It does not automatically make suspension removal possible. A front stand that bears on the fork bottoms and a steering-stem stand support different components and have different compatibility requirements.
| Support type | Potential role | Compatibility concern |
|---|---|---|
| Rear paddock stand | Stable rear support for approved tasks | Correct bobbins or pads, swingarm shape and stand width |
| Front paddock stand | Front support with the required rear stabilization | Contact points, fork design and manufacturer sequence |
| Steering-stem stand | Support through an approved stem interface | Pin size, clearance, bike design and permitted work |
| Motorcycle lift | Improved working height | Load rating, securing method and approved support points |
Read both the motorcycle and stand instructions before use. Work on a sound, level surface and use assistance where the procedure requires it. Never climb on a supported bike unless the equipment and procedure explicitly allow it. Do not work beneath a motorcycle held only by an improvised jack. If support is uncertain, stop before loosening any component.
Keep the roadside kit separate
Pack only tools that fit accessible parts and tasks you understand. Include a suitable pressure gauge and consider a tire repair system only when it matches the tire construction and its manufacturer’s instructions. A temporary repair is not automatically suitable for continued touring; recovery may be the safer choice.
Rehearse simple access at home. Check that luggage does not block the toolkit and that an essential socket has a compatible handle. After a trip, dry the tools and inspect them for corrosion. Expand the kit when a real task reveals a gap, rather than buying weight for an imagined emergency.